
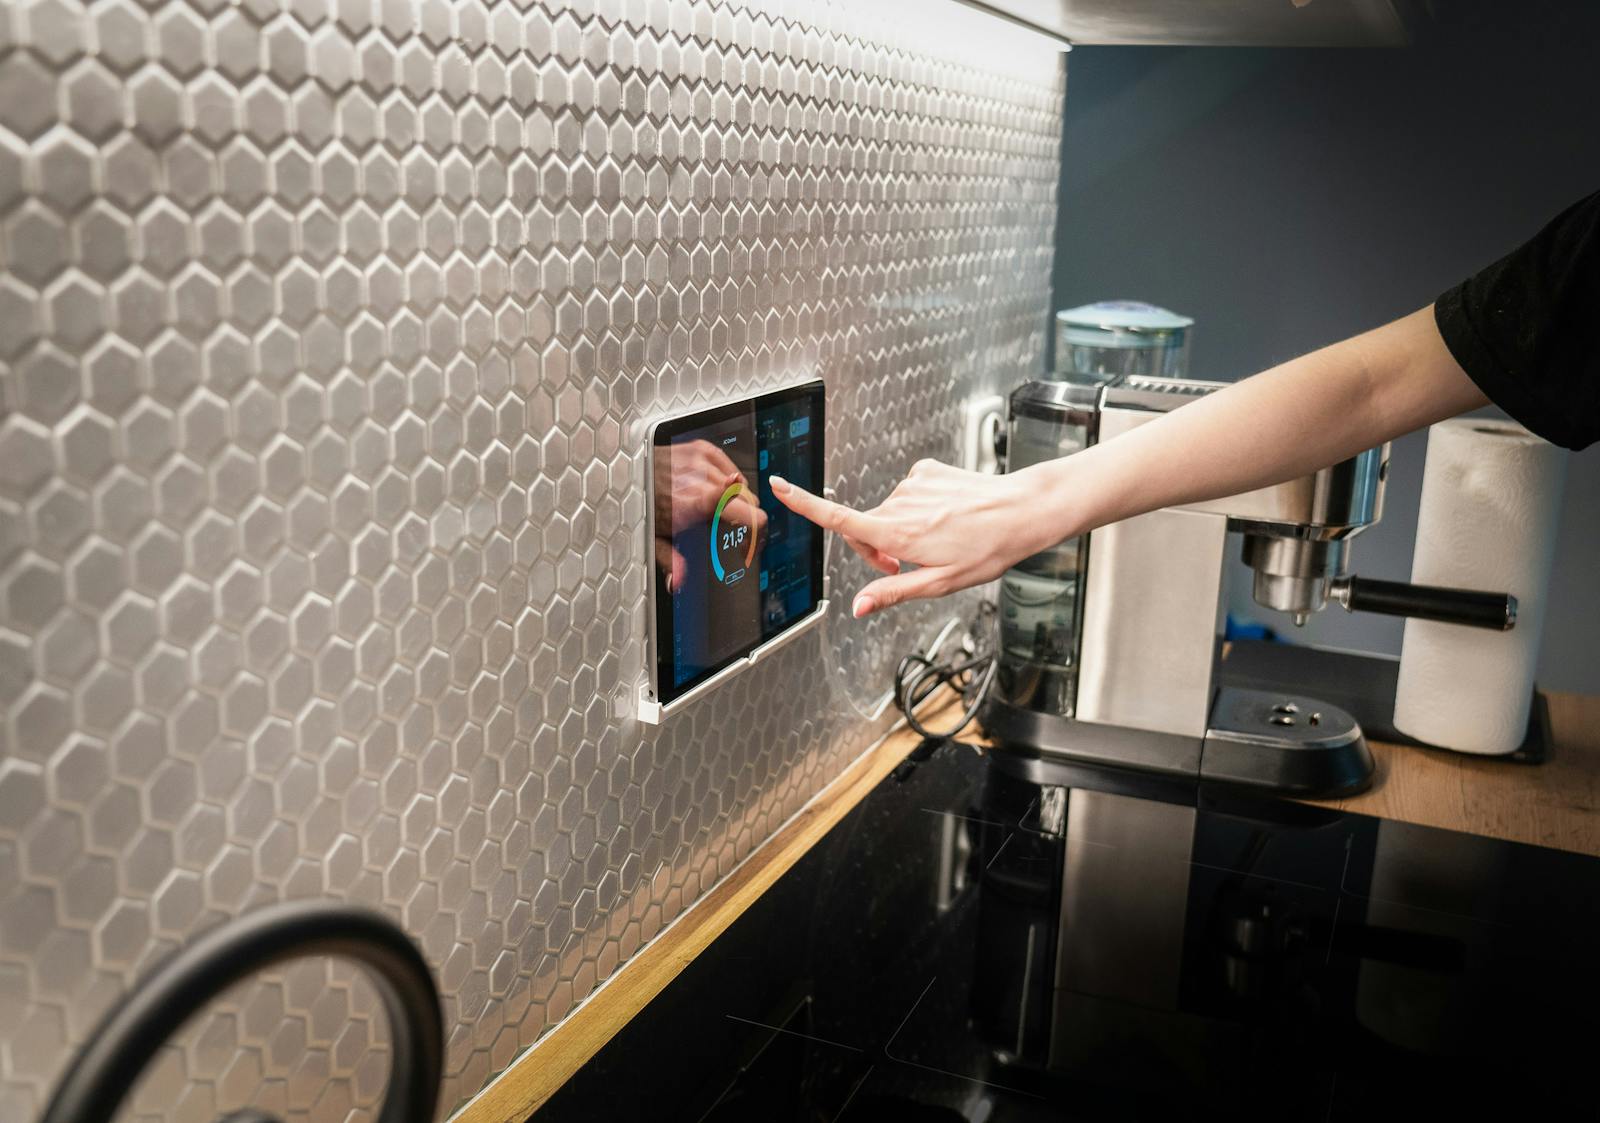
KNX is a wired system. That is what makes it reliable for decades and also what forces an early decision: once the walls are closed and painted, running the bus costs twice as much and gets done half as well. If you are at the drawing, shell or full-remodel stage, this guide tells you exactly what to ask for so the system goes in properly and without cost overruns.
When to decide
The ideal moment is before the electrical design. The electrician needs to know that lights do not go to wall switches but to a panel with actuators, and that switches are replaced by push-buttons or touchscreens connected to a bus. If the electrical design is already done, it can still be corrected at the shell stage. After plaster and paint, what remains is a wireless solution.
Rule of thumb: if the conduits have not been run yet, you are on time.
What to ask the architect
1. Location of touchscreens and push-buttons. By the front door, at the head of the master bed, in the kitchen and in the living room. A Basalte or Gira KNX touchscreen is a design element: its position is decided like an outlet, with height and alignment.
2. Space for the automation panel. A KNX panel needs more room than a conventional electrical one. Between 60 and 120 DIN modules in a mid-sized house, in a ventilated, accessible spot, not behind a closet door.
3. Motorized curtains and blinds. Every window with a motorized curtain needs a power point and bus in the curtain box or the lintel. Deciding now which windows get motors avoids cabling twice.
4. Climate zones. How many AC units, where the thermostats go and whether they will be KNX (on the wall) or built into the touchscreen. One thermostat per room is the high-end standard.
5. Scene lighting. If you want dimming and scenes, circuits must be split per room and you must decide whether architectural lighting will run on DALI.
What to ask the electrician
1. Certified KNX bus cable (green, twisted pair, EIB Y(St)Y 2x2x0.8 type) in conduit separate from power. It may share boxes with 230 V only where the manufacturer allows it and with separation.
2. Line or tree topology, never a ring. Maximum 1,000 meters per line and 64 devices per segment; a normal house never hits this, but it must be respected.
3. All loads to the panel. Lights, curtain motors, valves and AC contactors run straight to the panel, where KNX actuators switch them. Traditional switches disappear.
4. Boxes for push-buttons and touchscreens of the size each brand requires (Basalte and Gira screens use specific boxes) with the bus reaching every one.
5. Neutral in every box and spare conduit to spots where devices might be added in the future.
6. Data network: a network point per touchscreen, per TV and per WiFi access zone. This is the moment to leave structured cabling throughout the house.
The mistakes we see most often
- Deciding on KNX after the walls close. You end up with a mix of cabling and wireless patches.
- A panel that is too small. The system grows and there is nowhere for the new actuator.
- Curtains without a power point. The motor has no supply and the "smart" curtain ends up manual.
- No ventilation in the panel. In Panama's climate, a closed, unventilated panel shortens the electronics' life.
- Hiring an electrician with no bus experience. Bus cable is stripped and terminated differently from power cable. That is why a KNX Partner supervises the works.
How we work with your construction team
DiraSmart comes in from the drawings: we design the KNX topology over the electrical plan, hand the electrician the list of boxes, conduits and points, and coordinate touchscreen placement and finish with the architect. During construction we supervise the bus run and at the end we program with ETS, test scene by scene and hand over the documentation. The client chooses brands from the Premium catalog (Basalte, Gira, Jung, ABB, Hager, Theben, MDT) and we guarantee everything talks on the same bus.
If your project is on the drawing board, message us before the electrical design closes. A one-hour meeting with your architect saves weeks later.